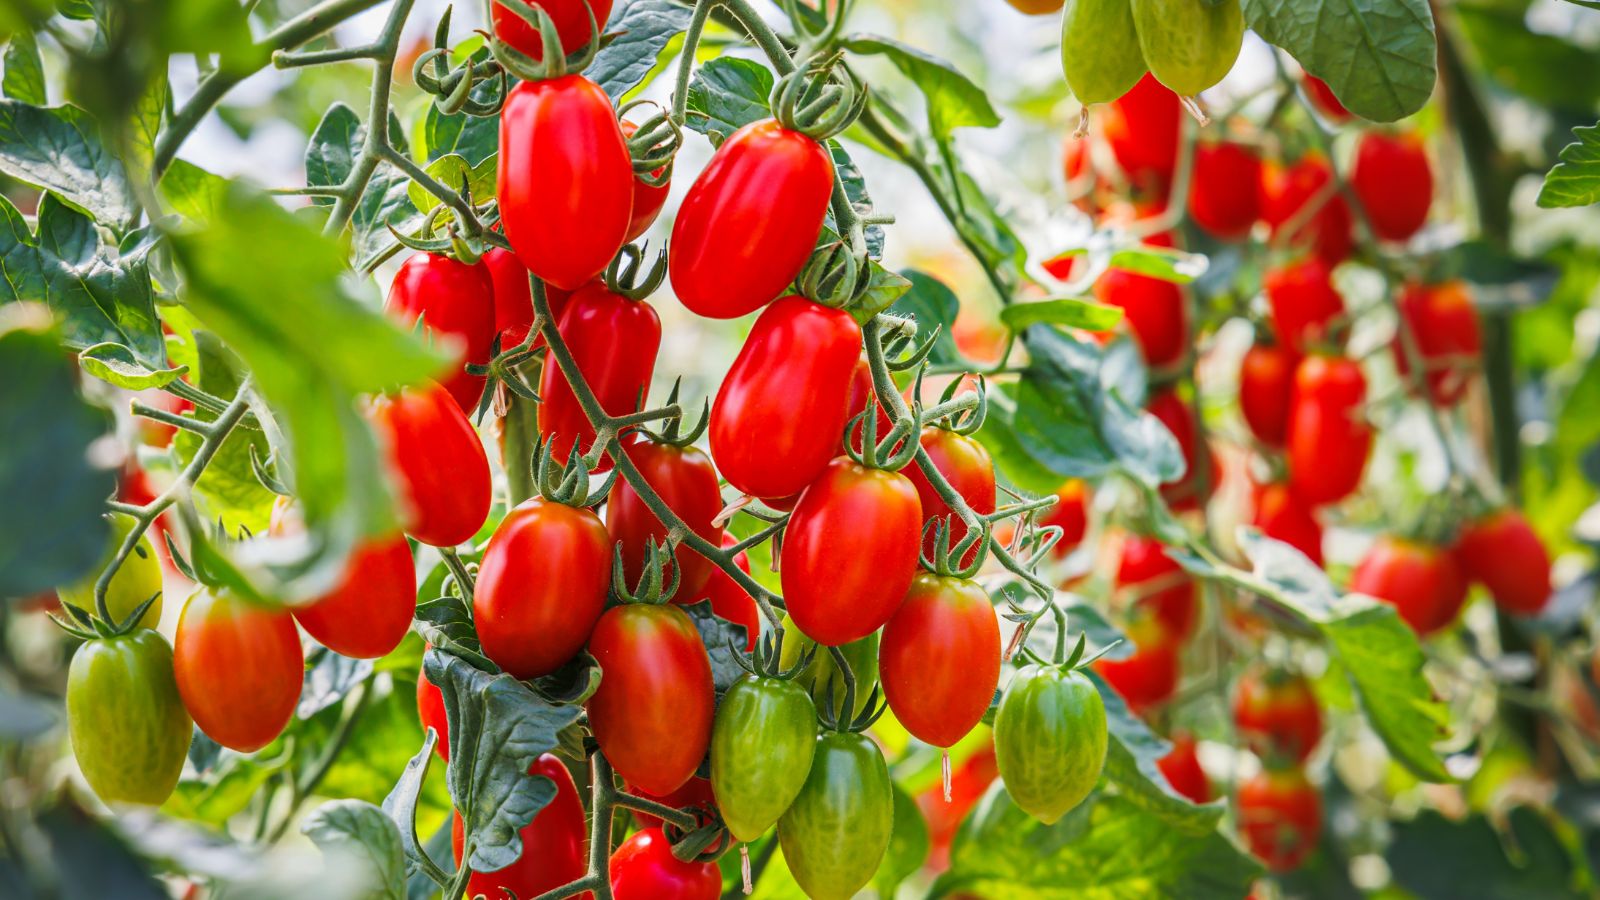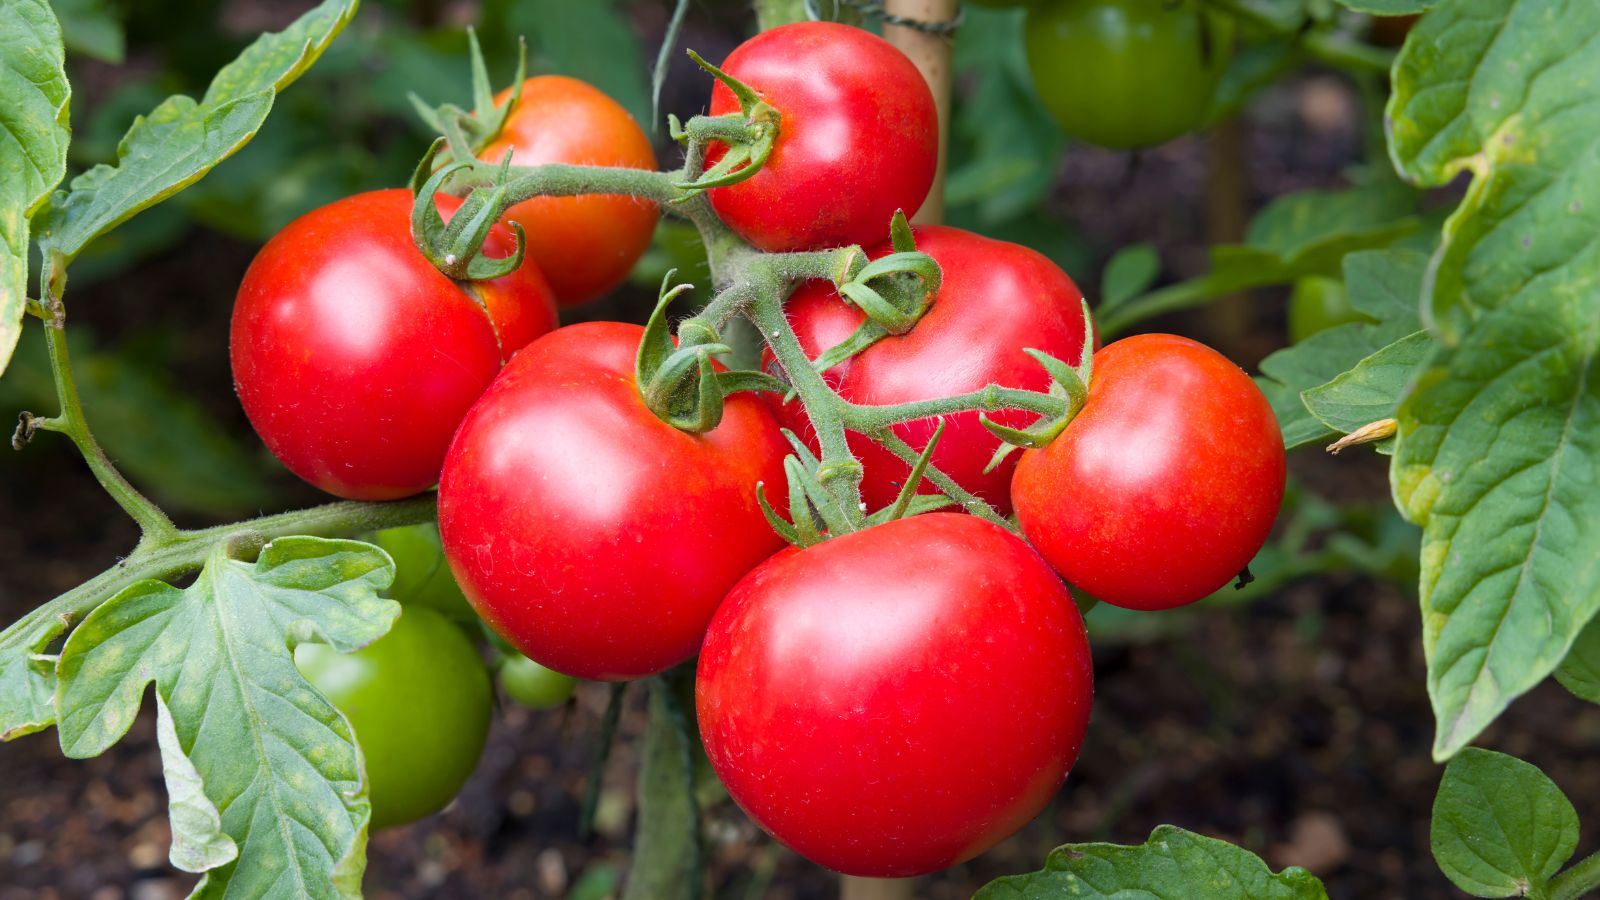
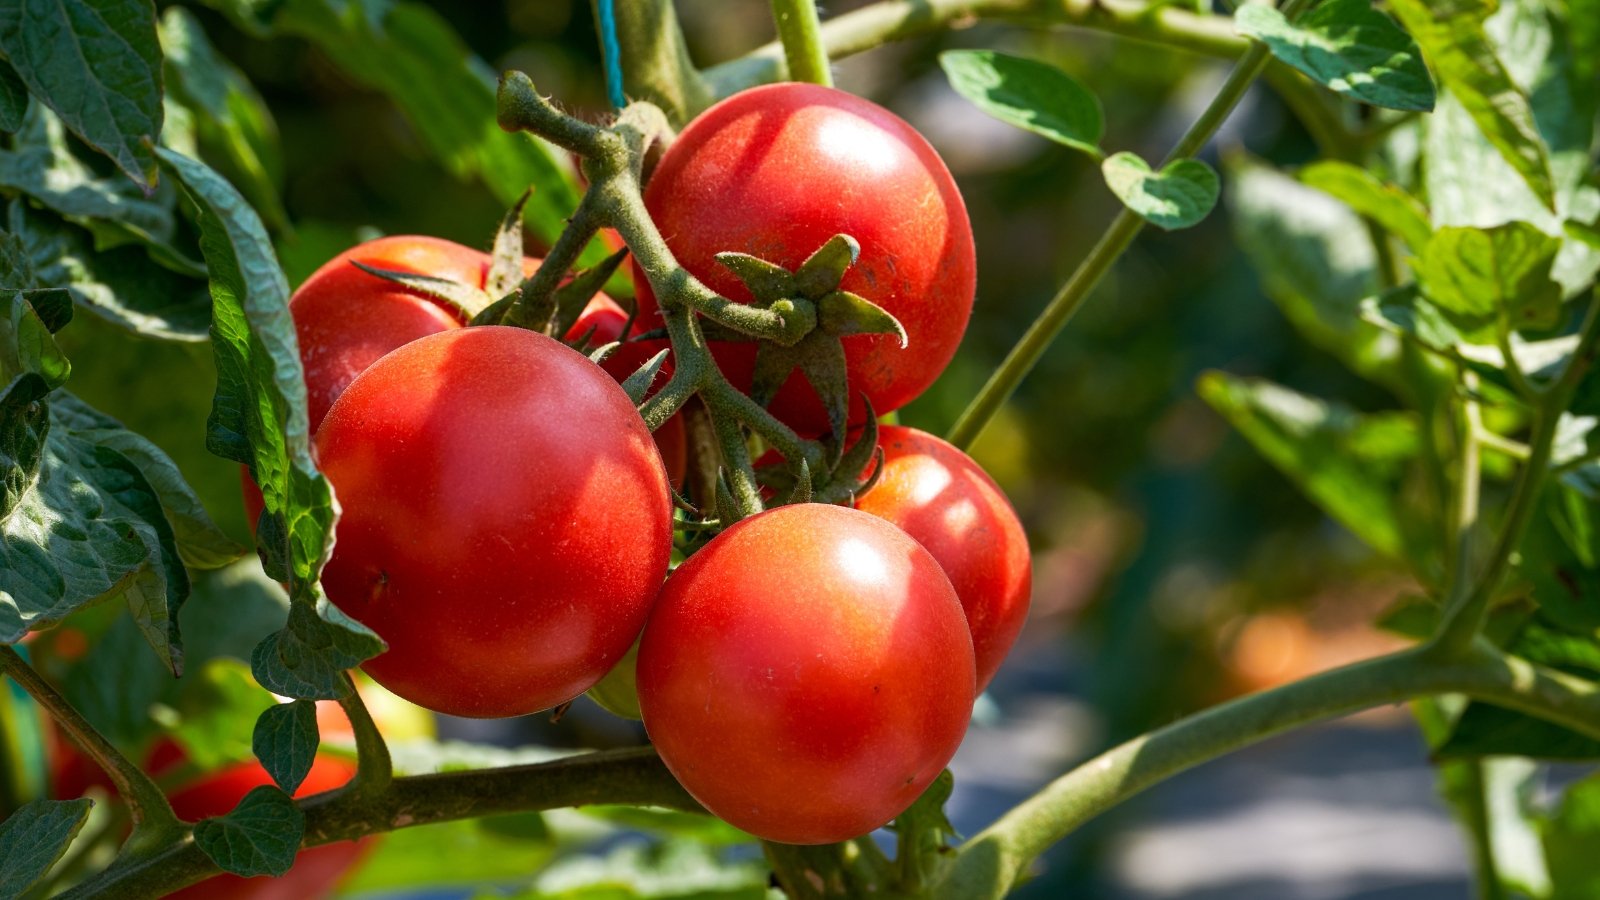
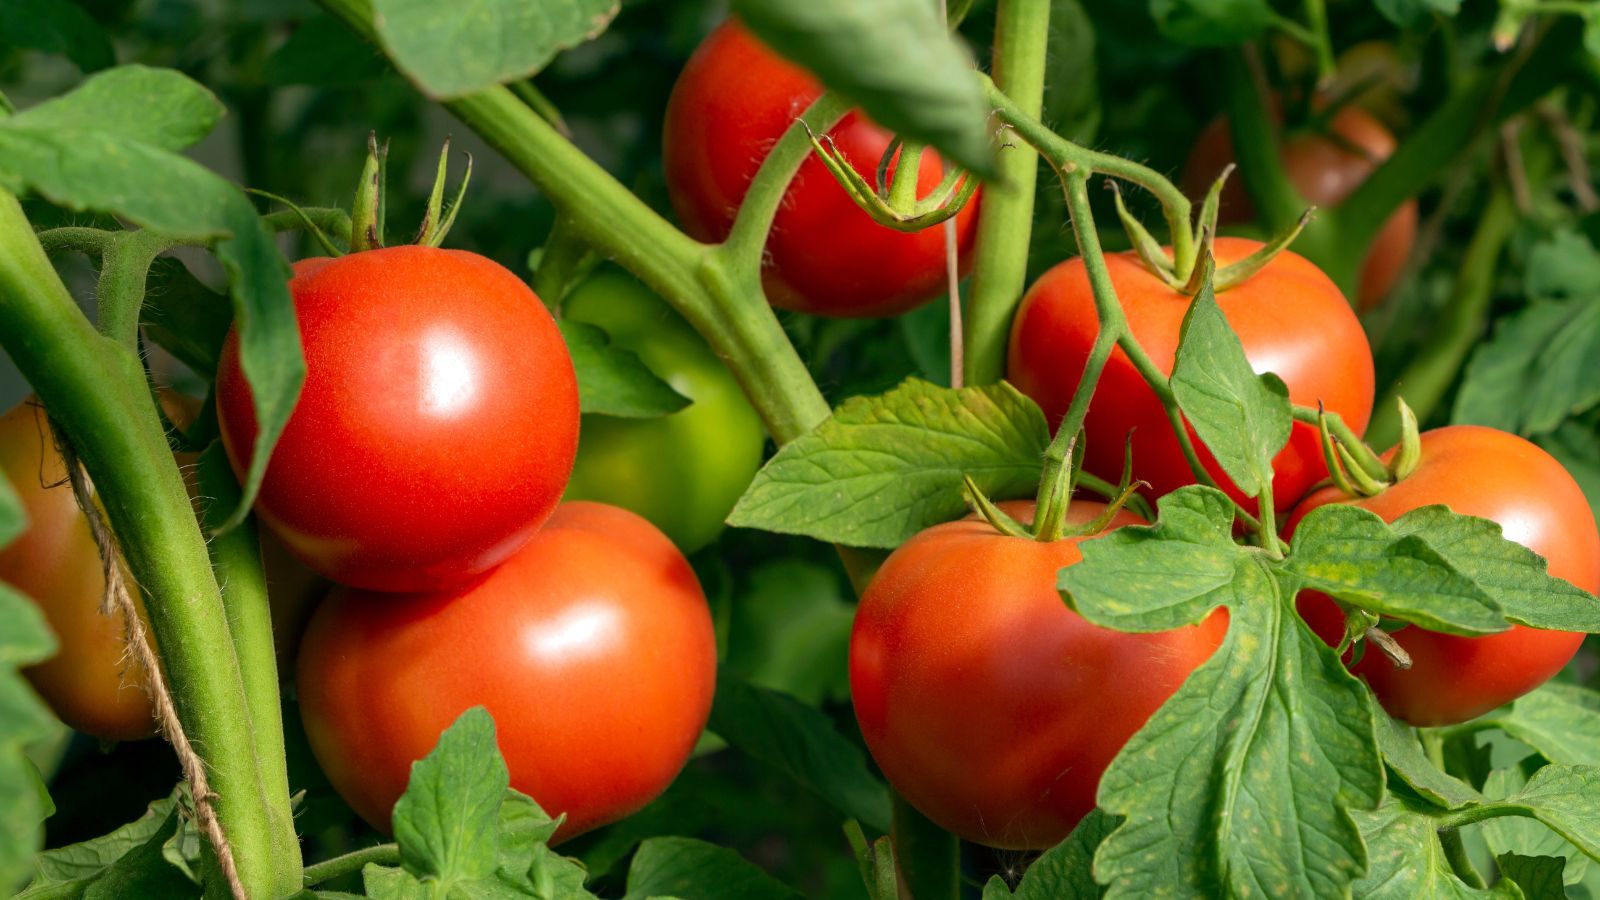
‘Moneymaker’ tomatoes are a great option if you want a plain red tomato that’s perfect for slicing onto sandwiches or chopping for Caprese salads. The plants produce medium-sized fruits throughout the summer, ensuring you have enough tomatoes for all your favorite recipes.
Although the ‘Moneymaker’ fruits aren’t anything exciting to look at, the plants’ prolific nature helps them stand out from other varieties. The indeterminate plants produce long vines that yield large quantities of uniform-sized fruit, so you’ll enjoy lots of tomatoes even if you only grow a single plant.
I’ll cover all you need to know to get the most out of this tomato.
‘Moneymaker’ Tomato Overview

|
|
|
What Are ‘Moneymaker’ Tomatoes?
‘Moneymaker’ tomatoes are open-pollinated heirlooms that were extremely popular in the second half of the 20th century. They received their name thanks to their ability to produce loads of medium-sized, red fruits that could be sold on the market. Commercial growers, as well as home gardeners, grew the tomatoes.
This variety can withstand high heat and humidity, so it’s especially popular in southern climates.
Native Area

All types of modern tomatoes, including ‘Moneymaker,’ emerged from wild Solanum plants native to South America. These plants only slightly resemble current tomatoes, with much smaller and seedier fruits. The first tomatoes arrived in Europe during the 16th century, and people began breeding them to produce new varieties.
Eventually, plants that resembled modern tomato plants made their way back to the Americas, where individuals continued to cross them with each other to create new varieties. That’s how the heirloom ‘Moneymaker’ was created.
Characteristics

‘Moneymaker’ tomatoes are indeterminate heirlooms with long vines. Individual vines typically grow at least six feet each growing season, and healthy plants can easily reach over eight feet. The plants produce branching stems if not pruned.
The plants’ clusters of medium red fruits are between two and three inches at maturity. You can expect the first tomatoes to ripen 75 to 80 days after transplanting. Healthy plants will continue to produce new ripe fruits as the season progresses.
Planting
Since ‘Moneymaker’ tomato seeds germinate best in warm temperatures and take months to reach maturity, transplanting is preferred over direct seeding. You can either purchase seedlings at a nursery or start seeds indoors at home.
Growing From Seed

‘Moneymaker’ tomatoes are easy to grow from seed indoors. If you have the proper equipment, you can grow healthy transplants in a spare bedroom or shelf in your living room. That’s right, you don’t need a greenhouse!
Start by gathering your equipment. Sturdy cell trays, a well-draining seed-starting mix, ‘Moneymaker’ tomato seeds, and grow lights all make the process easy. You can also use a heating mat if your home is below 70°F (21°C).
Fill the cell trays with the potting mix, then gently tamp the trays on a flat surface so any large air pockets settle. Add more soil mix so it’s level with the top of the seedling trays. Poke a small hole in the top of each cell; you’re aiming for about a quarter-inch deep hole.
Place one or two seeds in each hole, and cover with potting mix. Gently water so the soil is moist, then set the seed trays somewhere warm. Keep the soil moist until the seedlings emerge between five and ten days later.
As soon as you see the first seedlings break through the soil surface, move them to a bright location that receives ten to twelve hours of daily light. I recommend placing your plants a few inches below a grow light, but you can also experiment with setting them near a south-facing window.
If you planted more than one seed per cell, thin the plants to one plant per cell. I like to snip the smaller plants at the soil line to avoid disturbing the remaining seedlings’ roots. You can begin hardening off the seedlings when they have at least three sets of true leaves.
Transplanting

Once you have seedlings that are a few inches tall, you can transplant them into your garden. However, it’s important to make sure the weather is warm enough before setting the plants outside.
‘Moneymaker’ tomatoes will die if they experience below-freezing temperatures, and air temperatures below 40°F (4°C) will also stress the plants. I recommend waiting until nighttime temperatures hold steady above 45°F (7°C). You can use your last frost date as a guide, and check the extended forecast to see if a late cool snap is in the future.
Rather than moving your plants straight from their warm home to the ground, take a few days to harden off the seedlings. This process involves slowly increasing the amount of time the plants spend outdoors so they adapt to their new home with limited stress. While it may seem optional, hardening off is an essential part of giving your plants the best start in your garden.
Dig a deep hole for each plant, then place the seedling in the ground. Tomatoes will form adventitious roots along buried portions of their stems, so don’t be afraid to bury them deeply. I like to leave just two or three sets of true leaves above the soil surface.
Fill in the hole with soil and water well. If you’re planting more than one tomato, space the plants two to three feet apart.
How to Grow
‘Moneymaker’ tomatoes are warm-weather annuals that require a moderate amount of care. They’ll likely produce a few handfuls of tomatoes if you plant them and forget about them, but providing optimal care will reward you with impressive harvests that live up to this variety’s name.
Light
Full sun is best for all tomatoes, including ‘Moneymaker.’ Choose a location that receives at least eight hours of daily light, but remember that more is better. If you have to choose between morning and afternoon light, choose morning light.
Water

‘Moneymaker’ tomatoes require a consistent supply of moderate moisture to produce healthy stems, foliage, fruits, and flowers. Water young seedlings a few times a week as the plants develop their root systems, then decrease to deep waterings as the plants age. Providing one to two inches of water per week is generally sufficient, but you may need to water more with sandy soils or high heat.
Drip irrigation is the best way to water since it delivers moisture directly to the soil and keeps the plant’s foliage dry. You can install a drip irrigation system in your garden or utilize a soaker hose. Another option is to water the base of your plants with a watering can or hose.
Aim to avoid sudden swings between dry and wet soil. These abrupt changes in soil moisture can cause cracked fruits and lead to issues with nutrient uptake. Watering every few days is often ideal.
Soil

‘Moneymaker’ tomatoes can grow well in multiple soil types, but they prefer well-draining soil with a pH between 6.0 and 7.0. If you notice your soil is compacted, you can loosen it with a digging fork before planting. Mixing in a few scoops of finished compost can also help improve soil drainage and water-holding abilities.
Along with thinking about the texture of the soil, you should also consider its organic material and microorganisms. Most organic fertilizers rely on soil microorganisms to convert the nutrients in the fertilizer into a plant-available form, so strong soil biology is key to nutrient uptake. You can use a biologically rich compost to inoculate your soil or add organic materials to support microorganisms that are already present. Keeping plants growing throughout the year will also help feed the microbes that live in the soil.
Temperature and Humidity
‘Moneymaker’ tomato seeds grow best at temperatures between 70 and 90°F (21-32°C). They can tolerate lower nighttime temperatures, but will become stressed if temperatures are consistently below 50°F (10°C). High temperatures will also stress the plant and limit fruit set.
Tomatoes can tolerate a wide range of humidity levels, but higher humidity will increase the likelihood of certain diseases.
Fertilizing

Tomatoes are heavy feeders that require a large amount of nutrients to remain healthy throughout the growing season. Adding the correct ratios of nutrients is just as important as the right amount.
‘Moneymaker’ tomatoes require a high amount of the three macronutrients: nitrogen, phosphorus, and potassium. They also need smaller amounts of secondary nutrients and micronutrients, especially manganese, sulfur, and iron. While they don’t require large amounts of these nutrients, these smaller puzzle pieces are still important to overall plant health.
Tomato plant nutrient needs also vary throughout the plant’s life cycle; plants putting on lots of vegetative growth require different ratios of nutrients than those that are fruiting and flowering. In general, plants require more nitrogen when they are young and a higher amount of potassium and phosphorus when they are producing flowers and fruits.
I recommend conducting a soil test and using the results to identify and address any big deficiencies. This test can also help you avoid applying nutrients you don’t need. It’s especially helpful for determining if the soil is lacking micronutrients that aren’t always found in many commercial fertilizers.
If you want to skip the soil test, you can apply fertilizer for tomato plants following the product instructions.
Maintenance

‘Moneymaker’ tomato plants can grow and produce fruit without any maintenance, but trellising and pruning the plants will keep them healthier and encourage good fruit production.
If you’re growing just one or two tomato plants, a metal tomato cage is a good support option. Place one cage around each plant when it’s less than a foot tall. Just be aware that the plant will grow over the top of the cage since it’s indeterminate.
Another trellising option is to use the Florida stake and weave method. This works best if you have at least four tomatoes growing in a straight row. Insert a wooden stake or t-post every three to four plants, then box in the plants by running a line of twine along either side of their stems. Add a new string every six to ten inches to help keep the plants contained.
Pruning isn’t necessary, but it can help keep the plants tidier and simplify harvesting. I recommend removing lower leaves that touch the ground, at a bare minimum. You can also remove the suckers that appear between the elbow of the plant’s stems and leaves.
Harvesting and Storage

You should begin to see your first tomatoes ripening about 75 days after transplanting. The fruits near the ground will ripen first, followed by those higher up on the plant. You can harvest anytime you see a blush color appear on the bottom of the fruit, but you can also let the tomatoes ripen fully on the plant.
After you harvest, place the tomatoes in a cool area out of direct sunlight. Avoid placing them in the refrigerator, since this can damage texture and flavor.
Common Problems

‘Moneymaker’ tomato plants are susceptible to many of the same problems that plague other tomato plants. Here are some common pests and diseases to watch out for.
Pests
Regularly scouting for pests will help you spot and treat them soon after they appear. Take a moment to check your tomato plants for pests at least once a week.
Tomato Hornworms

These large, green caterpillars blend in with tomato foliage, making them difficult to detect. You may notice missing leaves or eaten fruits before you spot the pests themselves. When you do see them, remove them ASAP.
You can easily remove the hornworms by hand and place them in a bucket of soapy water or feed them to chickens. Parasitic wasps also help control the hornworms, so avoid spraying broad-spectrum insecticides that can harm these natural predators. Plant a diverse array of flowers to attract them to your garden.
Aphids

Aphids often appear on tomato leaves to suck the plant’s juices and rapidly multiply. A few aphids aren’t a big problem, but these pests can quickly multiply and cover your plants. Oftentimes, natural predators like green lacewings, parasitic wasps, and ladybugs will help keep aphid populations low, but intervention is sometimes required.
If you see aphids, you should remove them from your plant. It’s easy to wipe off a few aphids with a wet, soapy rag, but larger populations may be easier to control by spraying insecticidal soap.
You should also keep an eye on the amount of nitrogen you apply. Too much nitrogen can make the plants more attractive to aphids, leading to larger pest numbers.
Diseases
‘Moneymaker’ tomatoes don’t have any notable disease resistance, so they’re susceptible to numerous fungal, bacterial, and viral diseases. Most diseases are difficult to treat once they occur, so prevention is the best strategy.
Late Blight

Late blight is a common disease caused by the fungus-like oomycete Phytopthora infestans. This disease often appears later in the growing season, hence its common name. It causes brown or gray spots on leaves and stems that eventually spread to the entire leaf.
Since late blight isn’t treatable once it infects a plant, you should remove and dispose of infected plants to prevent the spread of the disease. You can help prevent late blight by only purchasing trusted seeds and transplants, keeping leaves dry, and encouraging good airflow.
Septoria Leaf Spot

If you notice your ‘Moneymaker’ tomato plants’ leaves are covered with small, brown dots, it’s likely infected with septoria leaf spot. This fungal disease quickly spreads, causing yellow leaves that eventually fall off the plant.
You can try to stop small infections by removing infected leaves. However, you should remove the entire plant if the infection is severe. Removing infected plants, avoiding soil splash, and using drip irrigation can all help prevent this disease.
Wilt

Both Fusarium and Verticillium wilt are problems you may encounter with tomato plants. These diseases occur in different seasons and areas, but have similar symptoms and require the same strategies.
If you notice your tomato plant suddenly yellowing and wilting, it’s most likely Fusarium. Verticillium wilt causes yellowing and decline over a longer period of time. In either situation, completely remove the plant and dispose of it to prevent spread to healthy plants. Do not plant your tomatoes in the soil they were growing in for at least two seasons.
Frequently Asked Questions
No, ‘Moneymaker’ tomatoes are not hybrids. They’re an open-pollinated variety that will breed true to seed.
Since ‘Moneymaker’ tomatoes are indeterminate, they’re not the best options for containers. Smaller, determinate tomato varieties are better options.
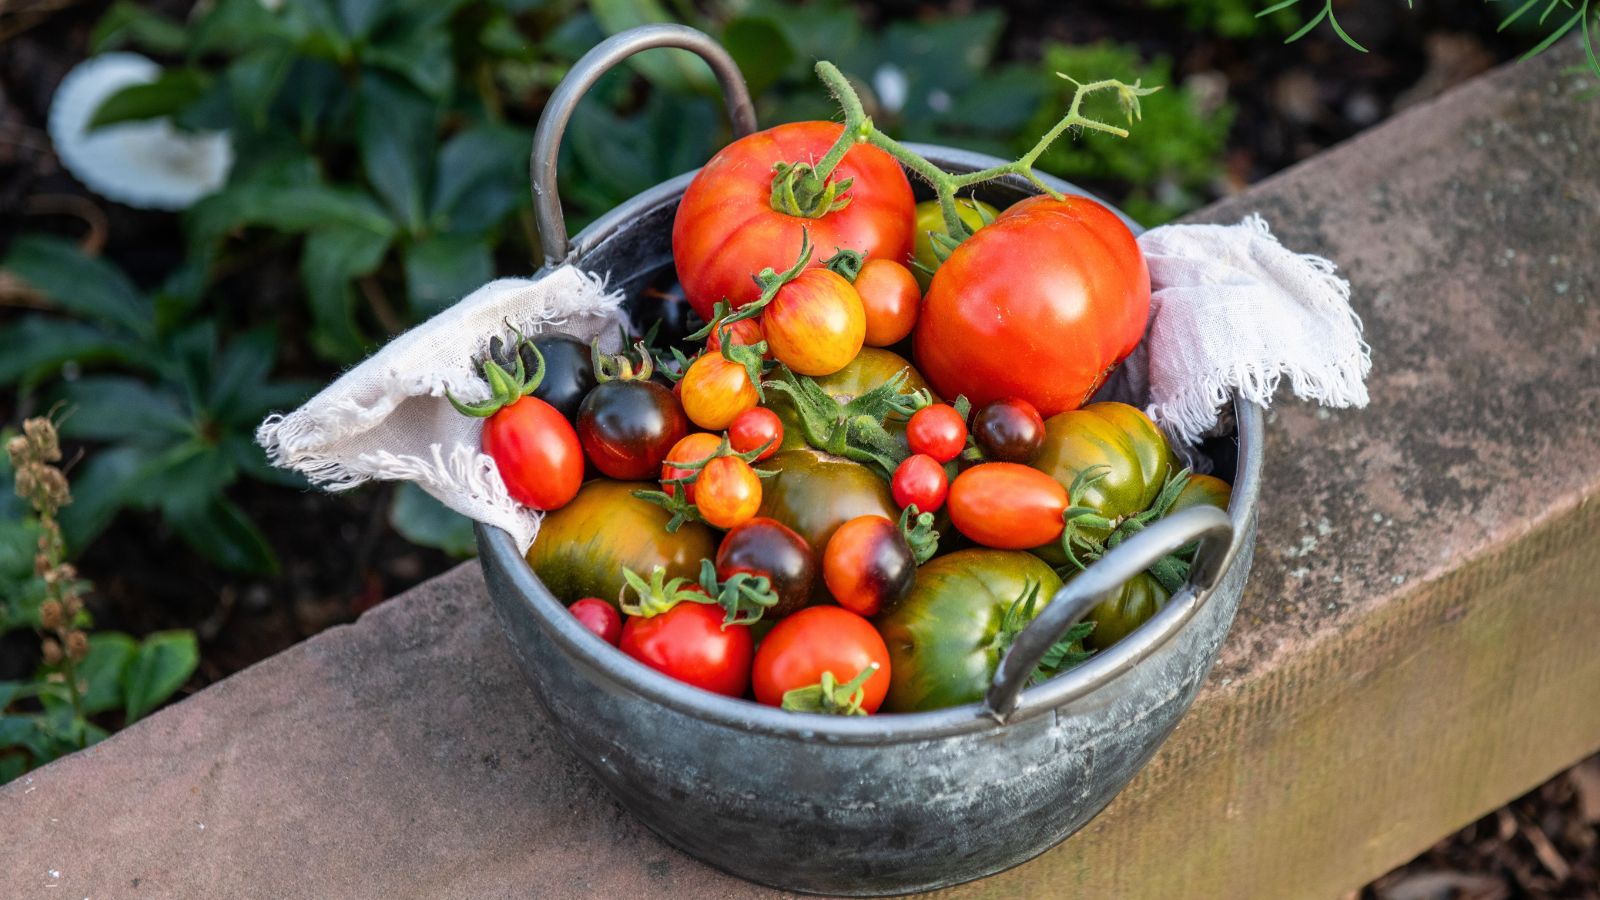
The medium-sized red tomatoes are good for fresh eating and cooking. You can use them in salads, on sandwiches, and in pasta sauce.